

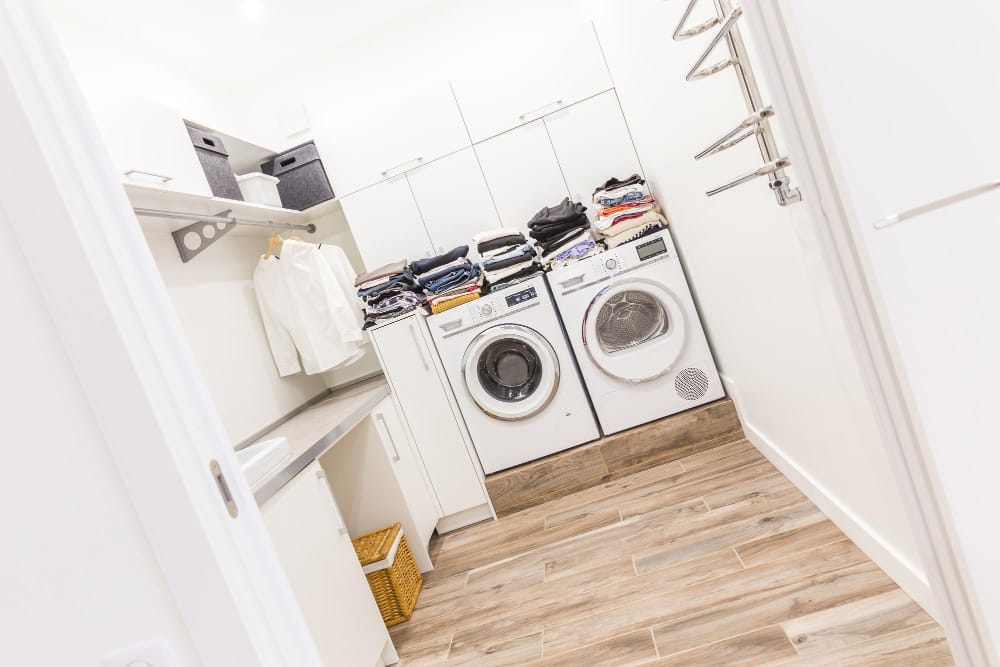
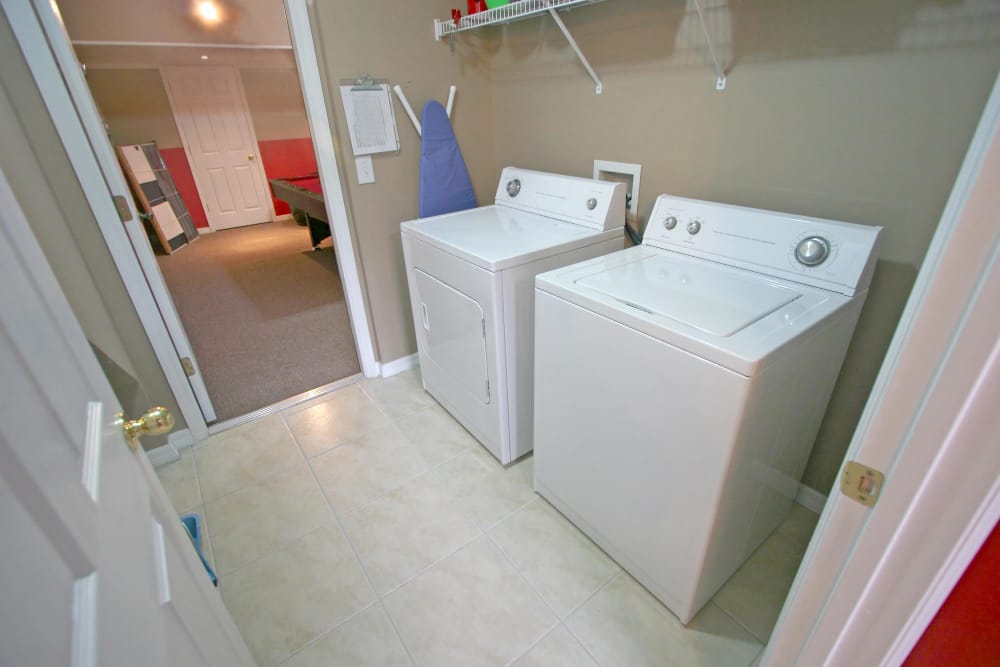
Laundry rooms demand more from flooring than almost any other area in the home — moisture resistance, durability, and easy cleaning. Choosing the right floor is only half the battle; correct installation ensures long-term performance. This top waterproof flooring material for laundry spaces guide walks homeowners through the process, from preparation to professional finishing.
Step 1: Evaluate Existing Conditions
Before installing new flooring, inspect your subfloor for damage. Laundry rooms often hide water stains, soft spots, or mold under washers and dryers.
Checklist:
Test moisture levels with a simple meter (below 12% is ideal).
Remove old vinyl, laminate, or tile if it’s lifting or uneven.
Repair subfloor panels and add a moisture barrier if necessary.
Starting with a solid base ensures your waterproof floor performs as intended.
Step 2: Select the Right Material
Each waterproof flooring type has unique advantages depending on budget, installation method, and durability goals.
| Flooring Type | Installation Method | Key Benefit |
|---|---|---|
| Luxury Vinyl Plank (LVP) | Floating or glued | Easiest DIY option; highly water-resistant |
| Ceramic / Porcelain Tile | Thinset mortar + grout | Ultimate durability and long lifespan |
| Sheet Vinyl | Full adhesive | Seamless, affordable, waterproof coverage |
| SPC/WPC Composite | Floating click-lock | 100% waterproof and dimensionally stable |
For small spaces, sheet vinyl’s single-layer coverage is unbeatable. For design customization, LVP or tile offers the best flexibility.
Step 3: Prepare the Surface
Proper preparation prevents future problems like bubbling or cracking.
Sweep and vacuum debris thoroughly.
Level uneven areas with patch compound.
Use underlayment only if recommended by the manufacturer.
Allow materials to acclimate to room temperature for at least 24 hours before installation.
Pro Tip: Run a dehumidifier for a few hours before you begin — dry air ensures adhesives bond properly.
Step 4: Lay Out the Flooring
Plan your layout to minimize seams in high-moisture zones (especially around washer and utility sink areas).
For Tile: Start from the center and work outward to balance cuts.
For LVP or SPC: Stagger plank joints by at least 6 inches for visual consistency.
For Sheet Vinyl: Roll out slowly and press evenly to avoid air bubbles.
Step 5: Seal and Finish
Even waterproof materials benefit from proper sealing. Apply silicone or waterproof caulk along walls, corners, and plumbing connections. This prevents hidden water seepage that can damage baseboards or drywall.
Avoid using grout with standard cement for tile — use epoxy-based grout for true waterproofing and long-term durability.
Step 6: Allow for Curing and Cleanup
Let adhesives or grout cure for 24–48 hours before heavy traffic.
Reinstall appliances carefully — use protective pads under washer legs.
Add a waterproof mat under the washing machine for extra protection.
Once complete, wipe down the surface and inspect for gaps or missed edges.
Step 7: Pair with Additional Upgrades
Many homeowners bundle flooring updates with plumbing, paint, or cabinetry refinishing for a unified look. Coordinating with a bathroom remodel Sacramento project can save on labor and allow for consistent waterproofing materials across adjacent wet zones.
Builder’s Notes
Proper installation is what transforms durable flooring into a lasting investment. Waterproof materials like LVP, tile, and SPC are only as strong as their preparation and sealing.
👉 Whether you DIY or hire a professional, never skip moisture testing or edge sealing — these steps protect your floors for years to come.